Cat Cake Tutorial on the Blog today y’all!
I really don’t like cats
They are snobby, selfish and rude, but since my sweet cousin’s daughter June requested a cat cake I swallowed my animosity and created a cat cake.
I must say, it turned out pretty dang cute. Especially for a cat.
And delicious. Lets not forget how great it tasted.
What’s great about this cake is that this cake is truly a good one for non experts
With a few beginner cake decorating supplies, even a novice can pull this one off. Even if you can’t stand cats 🙂
Supplies:
- Wilton tip # 233
- Wilton cake leveler
- Modeling Clay – you will need white, black and pink
- Wilton butter cream icing OR make your own if you’re feelin’ it
- Wilton fondant – pink
- Cake Mixes
- Icing bags, I like the disposable ones (less to clean)
Here is the step by step break down:
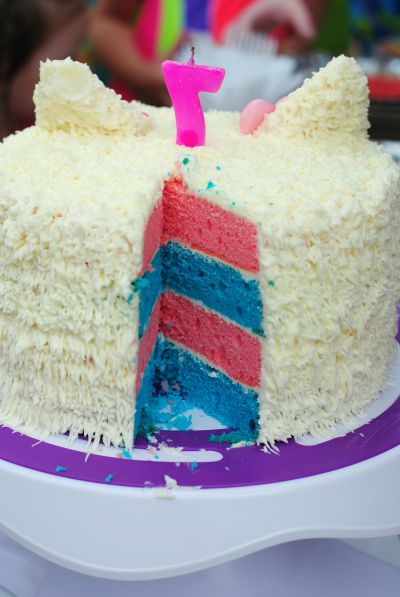
- Cook 4 8″ inch round cakes. We actually just used box mix to save on time.
- Allow cakes to cool
- Use a cake leveler on all 4 cakes to level off cake tops
- Stack cake layers with a medium layer of icing in between each cake round
- Cover cake in thin layer of buttercream icing
- Use an icing bag with Wilton tip 233 to cover cake with icing which looks like “cat hair”. This tip is simple to use. Place it right next the cake and slowly pull it away while you place firm pressure on the icing bag. While easy, if you have a big cake this step may take 30 – 45 minutes due to the large size of the cake. Put on some good Pandora station and jam.
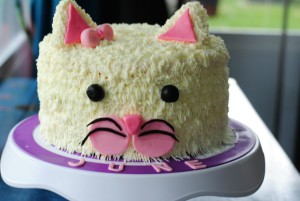
- Once the cake is covered with cat hair you can begin creating the face. You will need black modeling dough for the eyes and whiskers, pink modeling dough for the cheeks, ears and bow and white modeling clay for the ears.
- The ears: Use two 2 inch balls of white modeling clay, shape them both into triangles using your hands. Place toothpicks in bottom of ears and place into cake.
- Make the eyes: Use one 1/2 inch ball of black modeling clay, break in half and roll into two eyes. Place tooth picks in the eyes to put in cake.
- To make the nose: Use a 1/2 inch ball of pink modeling clay to create a small triangle. Place a tooth pick in the back of the triangle to place into cake.
- To make the cheeks roll a 1/2inch ball of pink fondant into a sheet. Use a small cup to cut out two check circles, place directly on cake.
- For the whiskers: make the whiskers by rolling a thin straw shape of black modeling clay. Place over cheeks. If you need to add a little bit of water to modeling clay to help it stick.
- To make pink inside of ears roll out pink fondant and use a knife to cut two triangles, lightly wet the back with water and place into ears.
Viola! Cat cake.
Looks like June approved 🙂
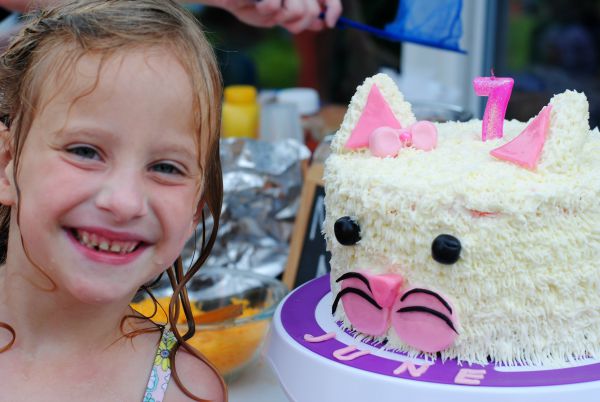
Amazing Brittany!!! That is one lucky little girl to have you as a cousin! 🙂
Thanks Anna!! It was a fun project.
What a cute cake! I’d love to make this in orange because I have a sweet ginger cat, who’d change your mind about cats if you got to know him. 😉
If I do make this as a ginger cat, I’ll share a picture with you. Thanks for sharing how to do this. ☺
Hey Michelle- an orange version would be super cute!! send me a pic if you do it!!